How to Photograph Antiques Correctly: A Beginner's Guide - AUCBURG
How to Photograph Antiques Correctly: A Beginner's Guide
An online antique seller's arsenal has only two main tools for a successful sale: the photograph and the description. It is these two elements that give the buyer a complete understanding of the item they cannot see in person.
An online antique seller's arsenal has only two main tools for a successful sale: the photograph and the description. It is these two elements that give the buyer a complete understanding of the item they cannot see in person.
A high-quality photograph attracts attention, while a comprehensive description helps in making a purchasing decision. It's important that they work in tandem, honestly and fully revealing all the item's strengths and weaknesses.
Creating a Detailed Product Description
The description should be as complete as possible. It is essential to specify the exact dimensions of the item and, most importantly, all its flaws. If a buyer receives an item with an undisclosed defect, it will lead to a return and show the seller's lack of professionalism.
When writing the description, follow the principle of 'more is better than less.' Don't be afraid of plagiarism at the beginning: you can study similar listings online or consult reference literature to learn how to describe items correctly. Over time, by working with similar goods, you will develop your own style and the necessary knowledge.
Creating a detailed product description
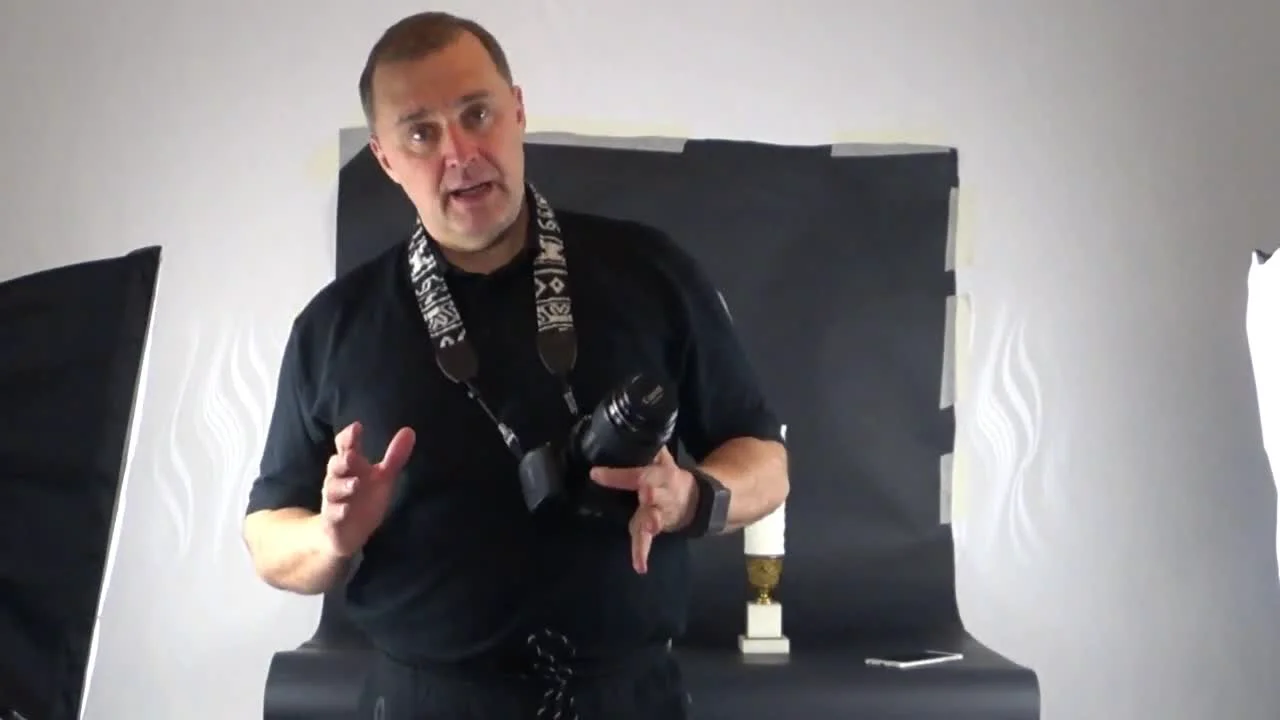
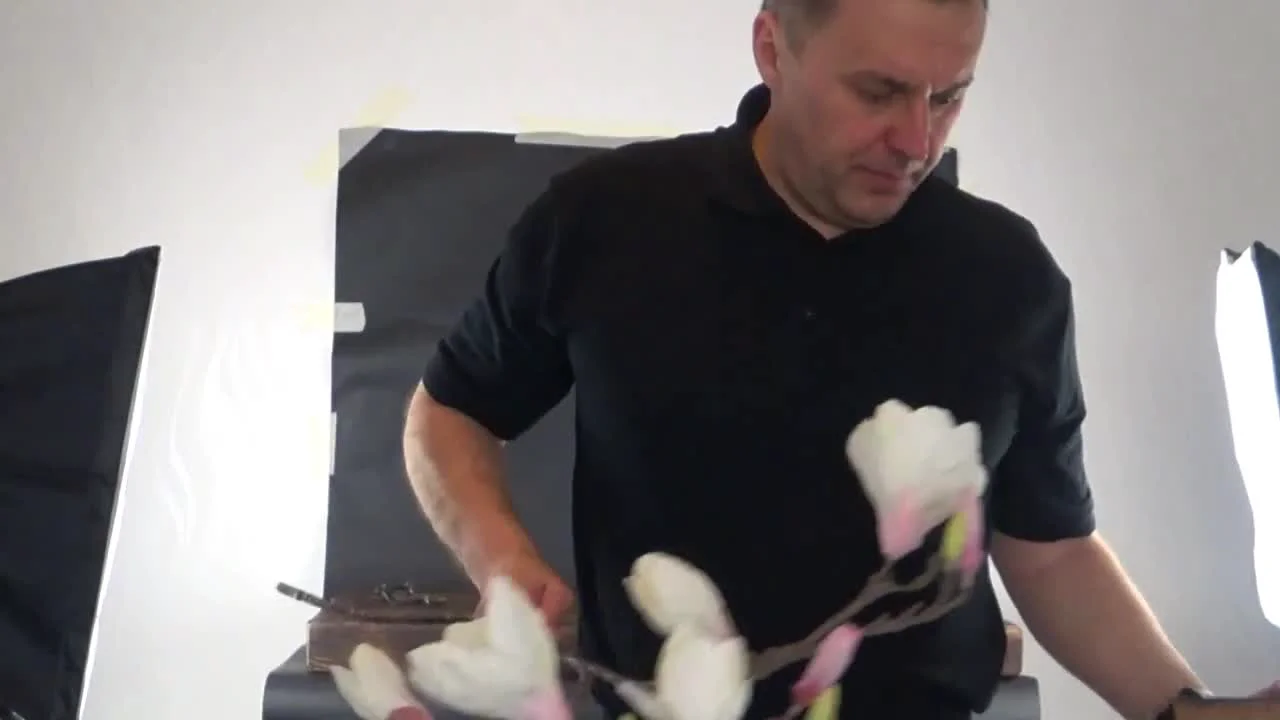
Minimum Kit for Quality Photography
In the early stages of the business, it's better to invest money in inventory rather than expensive equipment. For quality product photography, you don't necessarily need a professional camera; even a simple smartphone is sufficient. For example, you can use a Huawei phone purchased three years ago for about 200 euros.
The most important element in photography is not the camera itself, but correctly set lighting. The lighting determines how good the item will look in the picture. Therefore, the main focus should be on the lighting setup.
Minimum kit for quality photography
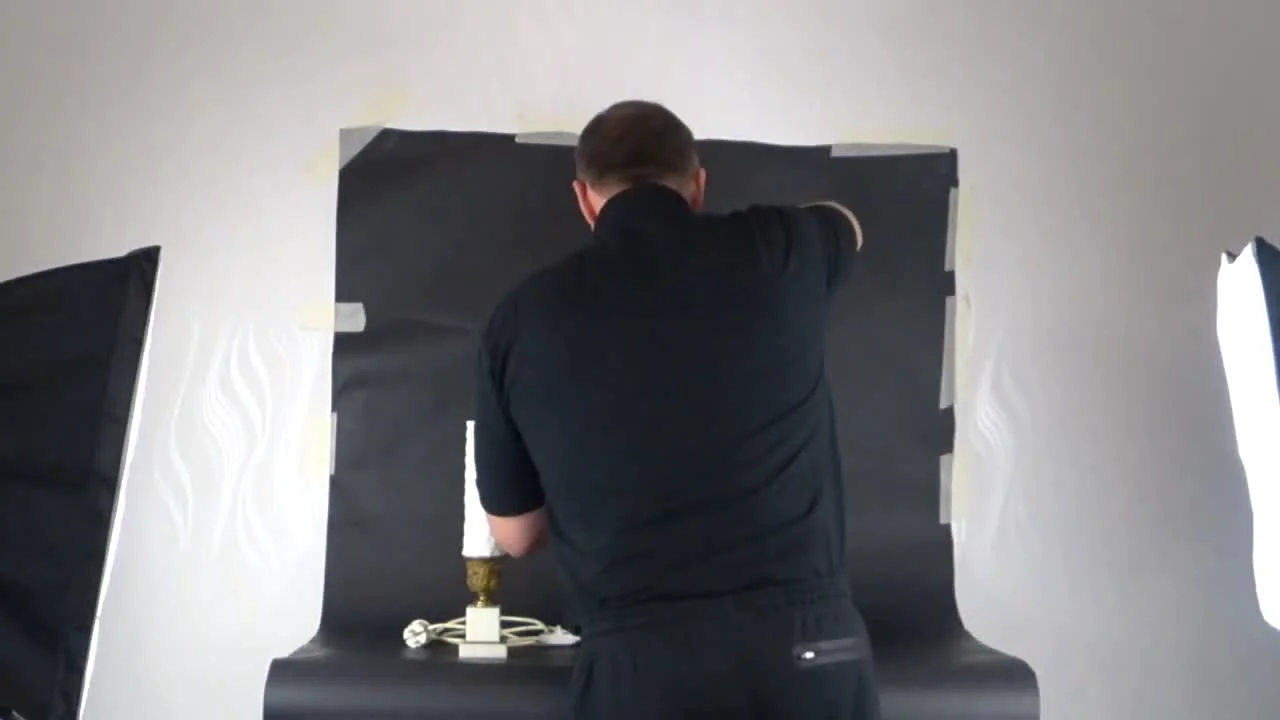
Lighting Basics and Background Selection
The key to a good photo is diffused light. You can use studio lights (softboxes) with built-in diffusers for this. As a budget alternative, regular light fixtures with LED bulbs will work, with the light passed through a translucent material like plexiglass or fiber.
To start, it's enough to have two main backgrounds: black and white. A simple rule applies when choosing a background:
Light-colored items are photographed on a dark background.
Dark items are photographed on a light background.
Later, you can experiment with other colors, choosing the background based on the item's style and the desired effect.
Lighting basics and background selection
Practical Examples: Lamps and Decorative Items
When photographing a set of white onyx lamps, a black background is used. To show that the lampshade is new, you can leave it in its factory wrap. Decorative elements, such as candles that are not part of the lot, must be clearly marked in the description as 'decoration, not for sale'.
To demonstrate the item's size, you can place a commonly known object next to it, like a water bottle. It's better to use this photo as a supplementary one, not the main image, and the label on the bottle should be covered to avoid advertising. It is essential to photograph all defects, such as a rusty bolt or a damaged mount, and also to show that the lamp is in working condition by taking a picture of it turned on.
Practical examples: lamps and decorative items
How to Emphasize an Item's Functionality
To show an item's functionality, you can use additional accessories. For example, you can place an antique sword on a carved wooden coat of arms. It's important to specify in the description that the sword is not for sale. You also need to take detailed photos of the carving and the back of the item, especially if there is an author's signature, as in this case: 'Sergey Kolesnikov 1996'.
When photographing an Eastern-style painting, you can place a few pewter items in front of it to create atmosphere. However, don't overload the composition, as this can confuse the buyer. The main item for sale should always be the center of attention.
How to emphasize an item's functionality
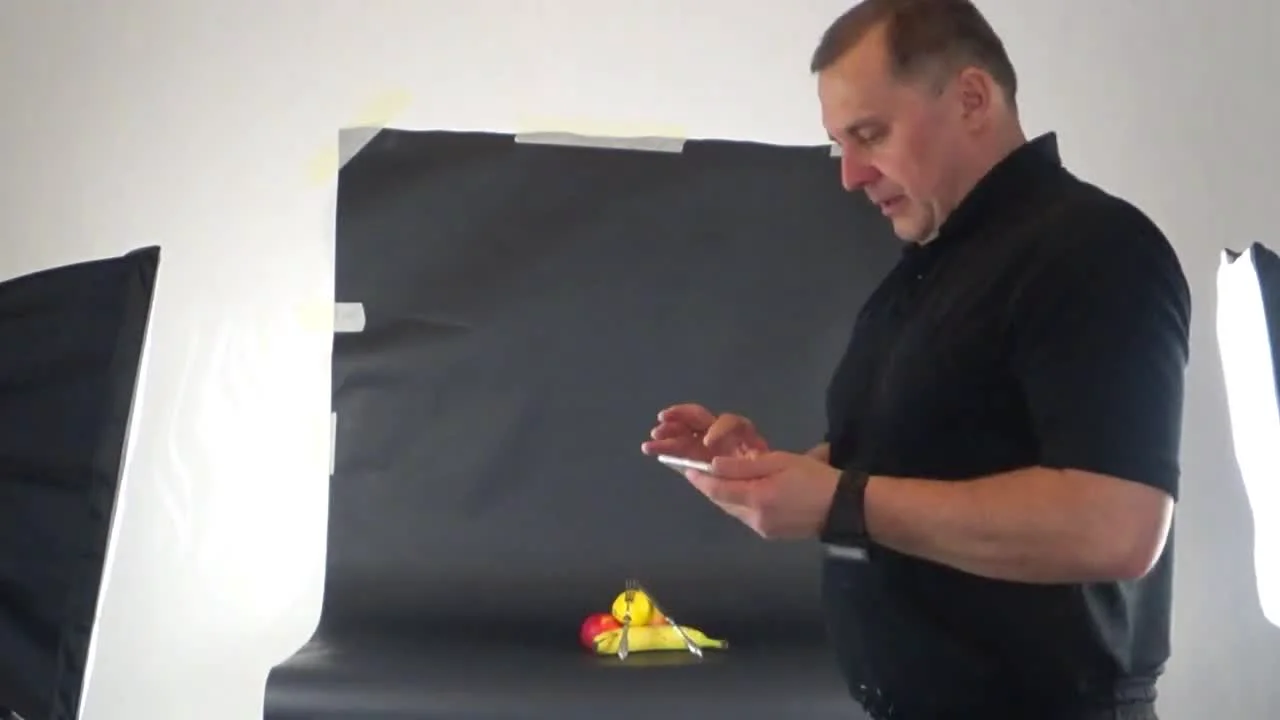
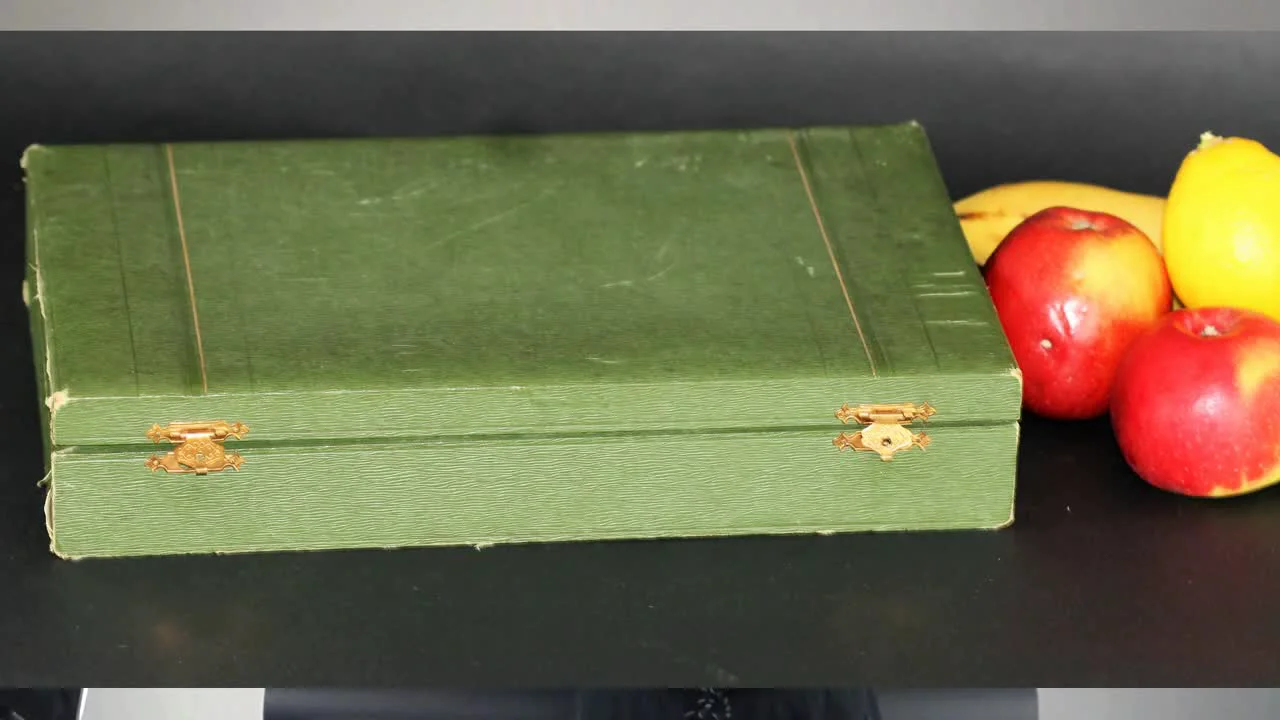
Specifics of Photographing Silver and Small Items
When photographing silver items, such as a jewelry box, it's important to show it from all sides, both open and closed. Pay special attention to the hallmarks (stamps)—they need to be photographed in close-up.
To showcase a dessert set, you can use fruit to help the buyer imagine its use. For a tobacco box or cigarette case, scattered tobacco or a cigarette placed inside would be suitable. Such details help to better understand the item's purpose and scale.
Specifics of photographing silver and small items
Final Photo Editing and Preparation for Sale
You don't need complex software for photo editing. Basic functions available in standard programs like Microsoft Word 7 or 10 are sufficient for cropping a picture or adjusting shadows. This is quite enough to prepare images for publication.
After taking photos and preparing descriptions, the items can be listed for sale. In this case, all items will be listed on eBay as a 9-day auction with a starting price of 1 euro. Although a fixed-price sale is often more effective for maximizing profit, the auction format was chosen to demonstrate the process.